Actions with PNR
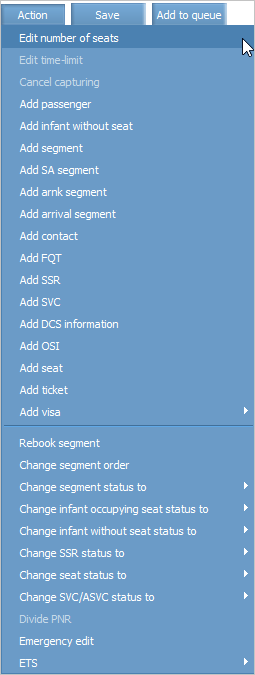
Press Action button when viewing PNR parameters to see a list of main actions with PNR.
| № | Option | Description |
|---|---|---|
| 1 | Edit number of seats | Modify number of seats in the PNR |
| 2 | Edit time-limit | Modify seat booking time-limit. After time-limit expires, a telegram will be sent to the 61 queue |
| 3 | Cancel capturing | Cancel the PNR lock-on and take control of it if PNR was previously locked on from the distribution system |
| 4 | Add passenger | Adding passenger to a PNR. Make sure that a seat for this new passenger was added before. You cannot add a passenger if there was no seat added before |
| 5 | Add infant without seat | Adding an infant without seat |
| 6 | Add segment | Adding a segment |
| 7 | Add SA segment | Add SA segment - a segment in the “standby” status (used when there are no empty seats on the segment, but if they appear, passengers can be boarded) |
| 8 | Add arnk segment | Adding an ARNK segment. This is used in case two sequential segments do not connect when arrival/departure time connection is broken or arrival/departure ports do not match |
| 9 | Add arrival segment | Adding arrival segment — information about other segments of connection flight, which are operated by other carriers. This might be useful if this information was not automatically processed and added according to information from GDS |
| 10 | Add contact | Adding contact information |
| 11 | Add FQT | Manual adding information about frequent flyer |
| 12 | Add SSR | Adding SSR. Default service status is as set in the carrier settings or business rule, is it was configured |
| 13 | Add SVC | Manual adding information about chargeable service |
| 14 | Add data from DCS | Adding data from check-in systems |
| 15 | Add OSI | Adding OSI |
| 16 | Add seat | Adding a seat. This function works only for flights with configured sale configuration and seat map |
| 17 | Add ticket | Adding information on tickets. You may manually add information about electronic or paper ticket. This function is only used if PNR synchronization with GDS is broken. You will need an approve from helpdesk to perform the operation (+371 67651357; |
| 18 | Add visa | Adding visa information |
| 19 | Rebook segment | Segment re-accommodation |
| 20 | Change segment order | Changing segment order |
| 21 | Change segment status to | Changing segment status |
| 22 | Change infant occupying seat status to | Changing infant occupying seat status |
| 23 | Change infant without seat status to | Changing infant without seat status |
| 24 | Change SSR status to | Changing SSR status |
| 25 | Change seat status to | Changing seat status |
| 26 | Change SVC/ASVC status to | Changing chargeable service (SVC/ASVC) status |
| 27 | Divide PNR | Dividing PNR |
Updating PNR Information
To update information in a PNR, click Refresh in the top right part of the screen. The information in the PNR will be updated.
The function of updating information is used for updating data on a PNR during its configuration.
Saving PNR Changes
To save changes in a PNR:
1. Click Save in the top right part of the screen. The window of saving changes in a PNR will be presented:
2. To send a telegram about changes made from the previous saving into external systems, select the Send telegram check box. If the check box is not selected, then the corresponding telegram will not be sent.
3. To send an SMS, if SMS-informing is configured, check the Send sms box. SMS will be sent to passengers on the PNR modification.
4. Click OK. The changes in the PNR will be saved otherwise an error message and a reason of impossibility of saving the changes will be presented. If the Send telegram check box was selected, then in addition to the operation, the telegram which contains the description of the changes in the PNR from the previous saving will be sent to external systems.
Segment Passenger Re-accommodation
To rebook passengers from a segment:
1. Right-click on a SEG section and choose Rebook option in the context menu. An alternate flight search window will be presented.
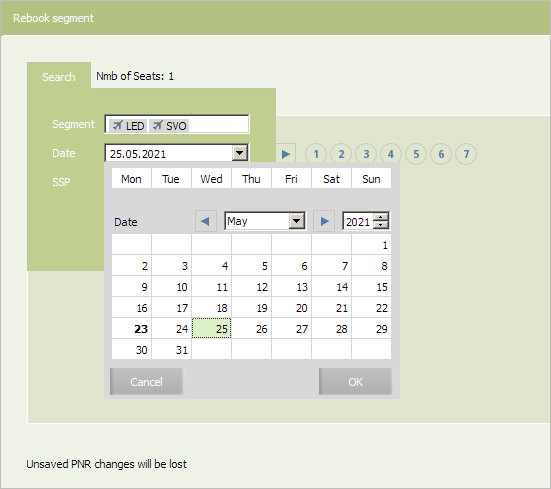
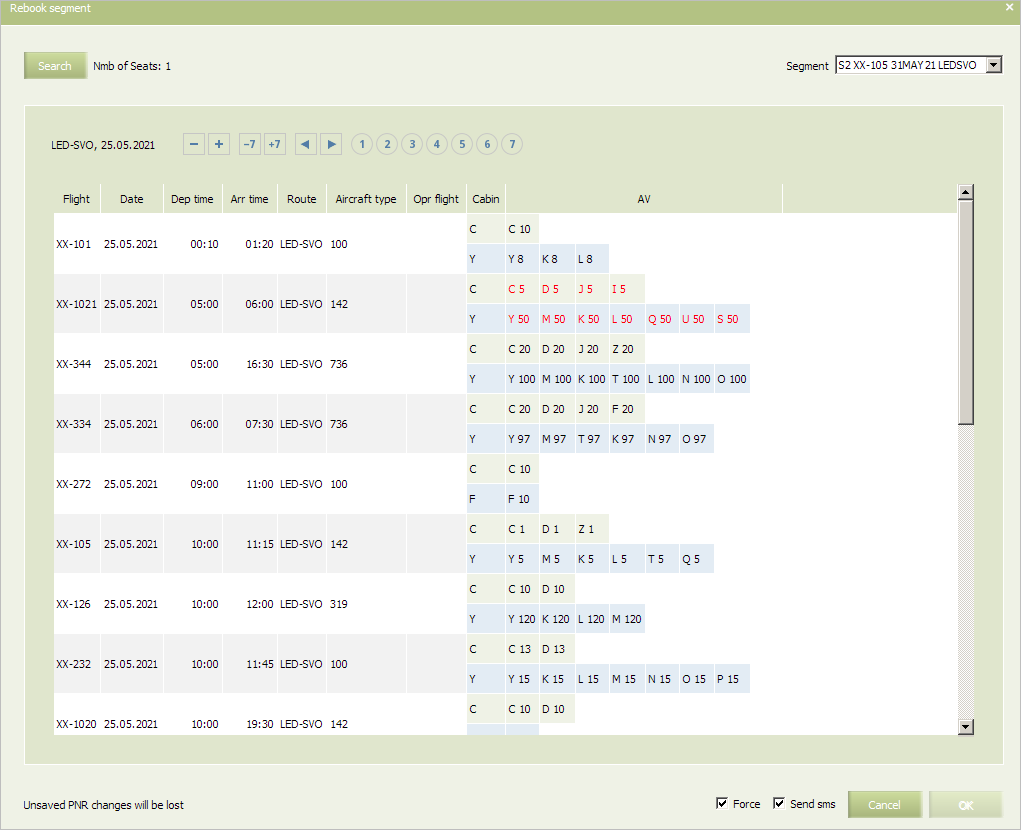
2. On clicking Search button, specify search of alternate flight parameters and press ОК. A list of flights and amount of seats in the booking classes on the found flights will be presented.
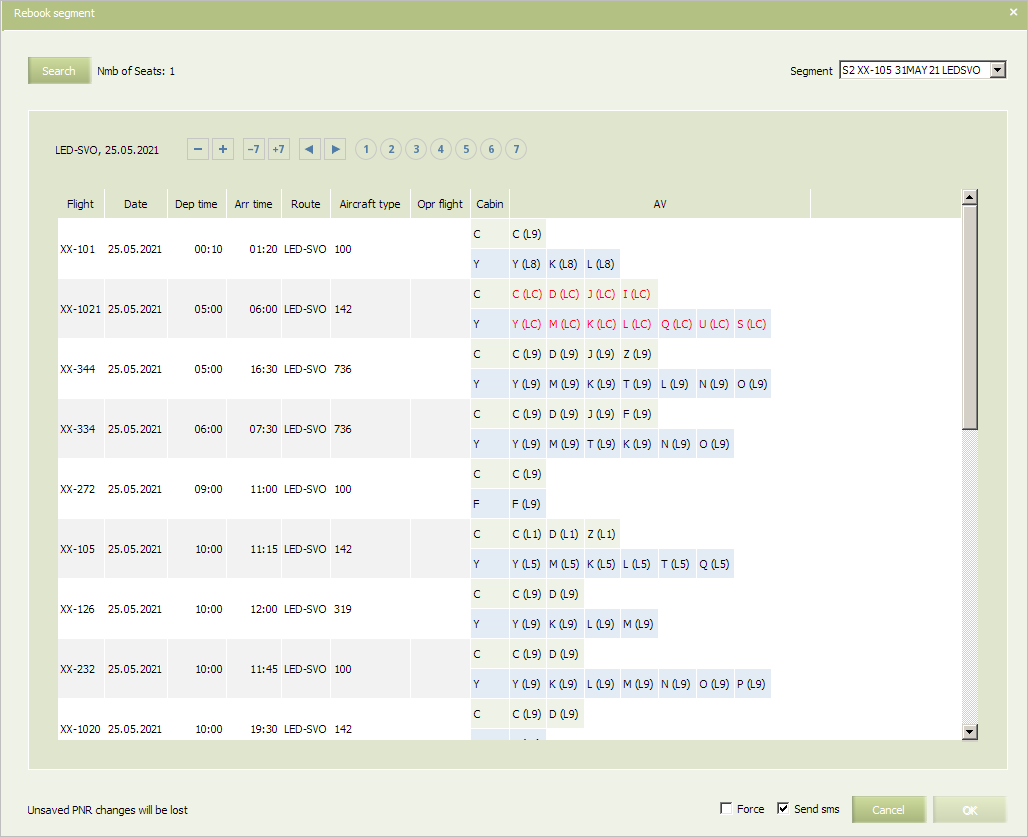
By checking the Force box you may force passenger re-accommodation to any class regardless of its status. So if this box is checked, then only seat amount is shown for each class. If the box is not checked, then for opened (LA) classes seat amount is presented, while for closed classes («Waitlist (LL)», «On request (LR)», «Closed (LC)») only status is shown. In both cases closed statuses are marked with red color.
3. Select booking class and finish re-accommodation process. Select a cabin by clicking on the corresponding cell in the AV column and click OK.
For more information on re-accommodation process see Passenger Re-accommodation section.
Copying Passenger Data
To copy passenger data in the PNR, right-click on a first row in the PAX section and select Copy option in the context menu.
Data will be copied to the buffer in the SURNAME/NAME DD.MM.YYYY(S)/ DT(CS)/PPPPPP DD.MM.YYYY format:
| DD.MM.YYYY | (S) | DT | (CS) | PPPPPP | DD.MM.YYYY |
| DoB | Gender | Document type | Citizenship | Document number | Document valid until |
PNR Message Queue
Adding a PNR to a Queue
To add a PNR to queue for further processing:
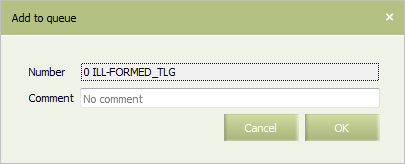
1. Click Add to queue in the top right part of the screen. The window of adding a PNR to queue will be presented.
2. Specify a number of queue to which a notification about a PNR will be sent in the Number field.
3. Specify a comment of a free form text in the Comment field if necessary.
4. Click OK. The corresponding event which requires manual processing of the PNR will be formed. The notification about the event will be sent to the specified queue for further processing.
Viewing Messages on a Selected PNR
To view messages on a selected PNR (see also “Queue management” section), select History → Telegram exchange in the upper right part of the PNR parameters screen. A list of telegrams on the selected PNR will be shown in a new tab.
You may also view PNL/ADL on a PNR segment. Right-click on a SEG section and choose Show →PNL/ADL Telegram exchange option in the context menu. A list of telegrams will be presented in a separate tab.
For more information on queue management see “Queue management” section.
Viewing PNR Changes Log
To view log of PNR changes:
1. Click History → History PNR in the upper right part of the PNR screen.
The history of PNR changes will be presented in a new tab. The screen consists of the following two parts:
- list of performed operations (on the left)
- selected operation details with corresponding PNR condition after the operation is excuted (on the right).
2. Select an operation from the list in the left part of the screen. The status of the PNR at the moment of applying the selected operation will be presented in the right part of the screen.
In the right part of the screen the State after tab presents state of PNR after the selected operation was held. The State before tab presents state of PNR before the selected operation was held. The tab Details presents the details of changes thar were made. Deleted items are marked with red, added/edited ones are marked with yellow.
The tabs may differ depending on a type of operation. E.g. there may be presented a Telegram tab containing text of a telegram which was sent upon performing an operation.
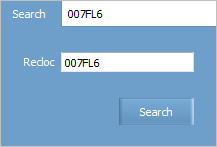
To find a log on managing another PNR, click Search in the top left part of the screen. The PNR search form will be presented.
Specify a number of a PNR in the Recloc field and click Search.
To update the history of the operations, click Refresh in the top right part of the screen. The list of the operations will be updated.
To proceed to view PNR parameters, click PNR in the top right part of the screen. The PNR parameters screen will be presented on a separate tab.
For more information on operation archive see “Operation archive” section.
The tabs may vary depending on which operation the archive is viewed for. For example, the Telegram tab displays the text of the generated telegram sent as a result of the operation.
See also:
- PNR General Information
- Information about Passengers
- Segment Information
- Contact Information
- OSI
- Special Services and Ancillaries Information
- Ticket Information
- Seat Information
Other sections:
- Schedule Management
- Inventory Management
- Passenger Re-accommodation
- Carrier Settings
- Seatmaps and Sale with Seat Numbers
- Commercial Agreements Management
- System Queue Management
- Reports
- Dictionaries
- User Rights and Roles
- Viewing Operation Archive
- Messages Searching and Viewing
- Charter Flight Creation
