User Profile and Personal Settings
Configuring User Profile
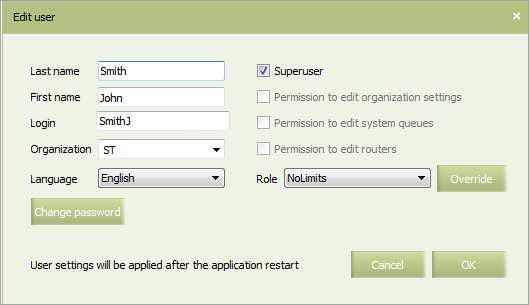
User profile contains the following parameters:
- First name
- Second name
- Username
- Organization name
- Interface language
- Password.
To view or modify user profile:
- Click the Profile button (
 ) in the upper-right corner of the screen. Profile settings menu will be shown.
 - Choose Personal data item. Profile configuration window will be shown.
- Specify data in the fields and click OK. Specified data will be saved. Settings will be applied after the application restart.
For the detailed information about user roles please refer to the User rights and roles section.
| User profile parameters are saved on the server, so there is no need to re-specify them after the application restart or update. User settings of data filter and screen presentation are also saved. |
Personal Interface Settings
About Interface Settings
System interface setting contain the following parameters:
- Interface styles
- Types of messages that are saved in log file
- Time zone on the application
- Default folder for downloaded data
- Notification pop-up windows
- Default values for service types
- New tab opening settings.
To proceed to the interface settings:
- Click the Profile button (
 ) in the upper-right corner of the screen. Profile settings menu will be shown.
 - Select Personal settings item. Interface settings screen will be shown.
A frame on the left shows submenu that contains the following items:
- Styles — setting the interface fonts and colors
- Log — setting the types of messages that are saved in log file
- Time zone — setting the time zone in the application
- Directories — setting the default folder for downloaded data
- Notifications — setting the notification pop-up windows showing
- Default values — default values for service types
- Behavior — new tab opening settings.
To go to a section, choose an item in this submenu.
Styles Configuration
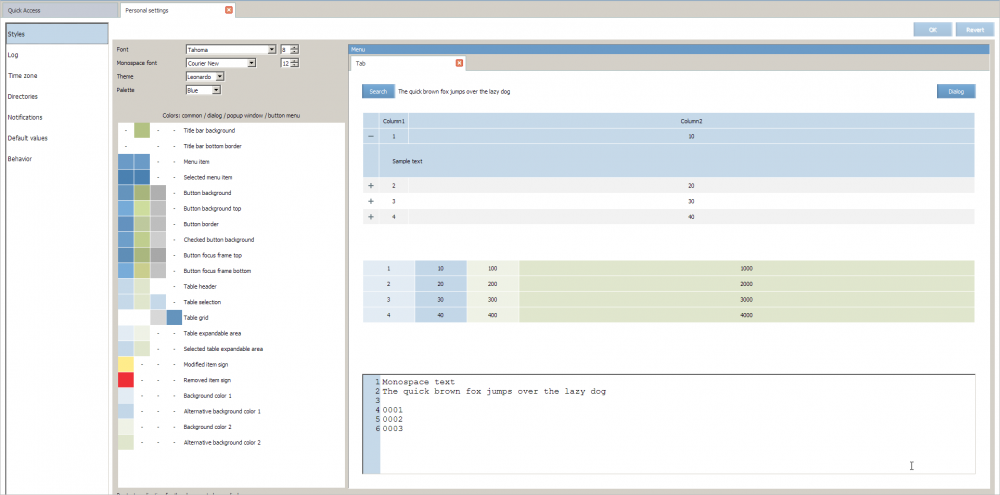
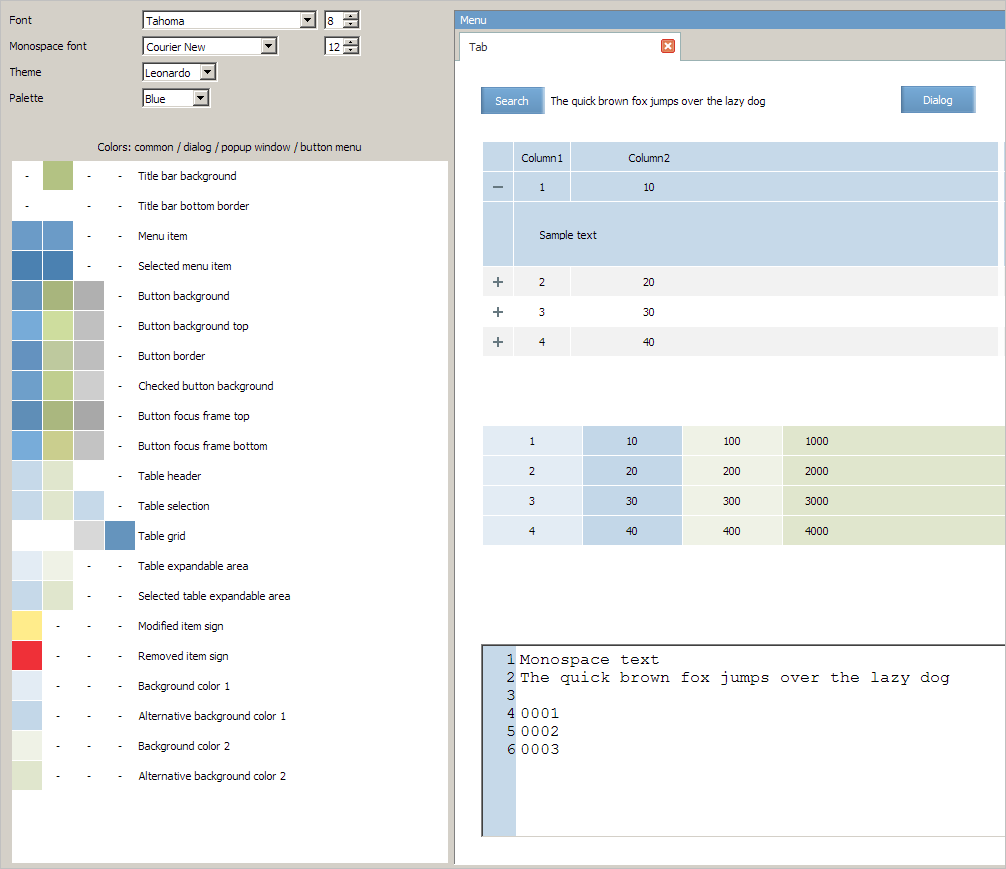
To configure interface fonts and colors, select Styles item in the submenu on the left. Styles configuration screen will be shown.
- In the Font field choose one of the fonts in a drop-down list for the basic text in the application and set its size.
- In the Monospace font field select the type of the monospace font (used in some sections such as telegrams) and set its size.
- In the Theme field select an interface theme.
- In the Palette field select a color palette for the selected theme.
In the right part of the window an example of how the interface looks like with the interface selected settings is presented.
Click OK. To reset font settings to default, click Revert.
If the settings have been changed, they will be applied after the application restart.
Log Settings
To proceed to the logging configuration screen, select Log item in the submenu on the left. Logging configuration screen will be shown.
The checkboxes on the screen are relevant to the following types of messages:
- Debug — debug messages
- Warning — warning messages
- Error — error messages
- Request and reply — test of request and reply messages between the application and the server.
Place marks in checkboxes relevant to the types of messages that should be included in log files and click OK. To reset log settings to default, click Revert.
Date and Time Configuration
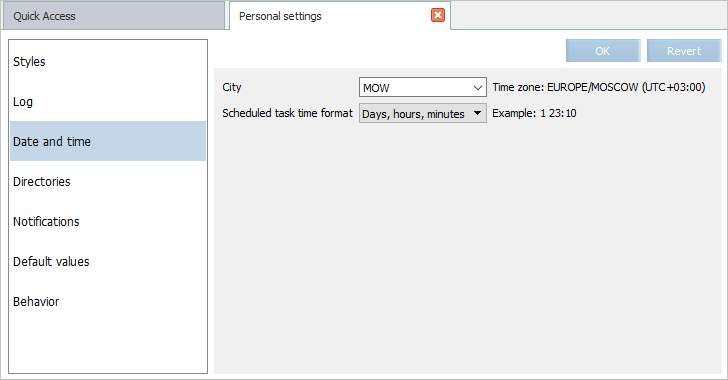
To proceed to the Date and Time configuration, select the Date and Time section.
Select the city in the drop-down list. A list of cities corresponds to the "Cities" dictionary. The time zone will be set automatically.
In the Scheduled task time format field it is possible to specify the format of the time display when it is set relative to the flight departure time by selecting whether the number of days, hours and minutes before the flight departure will be displayed, or the day will be counted in the hour counter. An example is given to the right of the field on how the relative time will be displayed.
To apply changes, click OK button. To return to default settings, click the Revert button.
Configuring File Download Directory
You may set the folder where downloaded files will be saved by default.
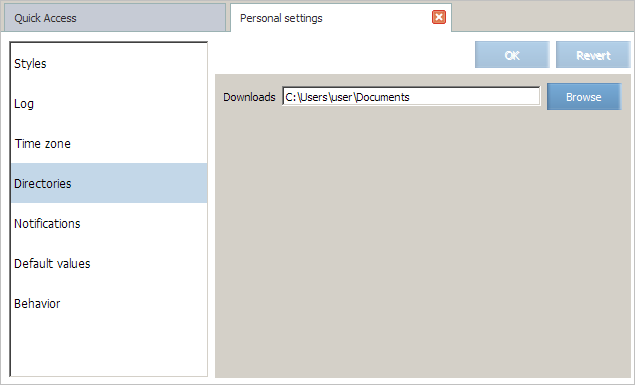
To proceed to this section, select the Directories item in the submenu on the left. The folder settings screen will be shown.
Specify the path to the folder in the Downloads field or select in via browser by clicking Browse button.
Click OK. To reset font settings to default, click Revert.
Setting the Notification Pop-up Windows
You may set the maximum frequency of pop-up notification windows showing in the Notifications section.
Specify the amount of notification and select time period (minute, hour, 24 hours) per which the specified maximum amount of pop-up windows will be shown.
Click OK. To reset font settings to default, click Revert.
Default Values for Service Types and SMS Notifications
You may set a default value for flight service type that will be set to a flight as it is created.
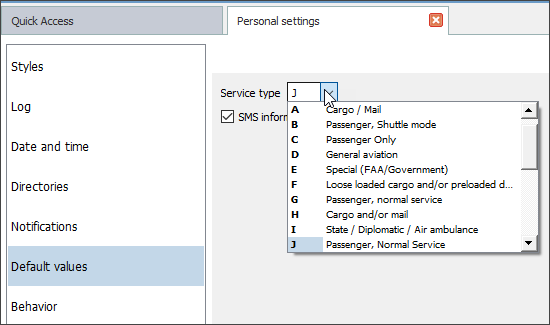
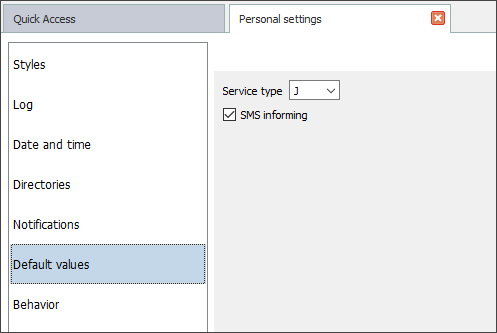
Proceed to the Default values section and select an item with the service type code from a drop-down list.
Here you may also set a default type of SMS notifications.
If this parameter is turned off, the SMS will not be automatically sent to user upon such operations as flight modification, applying re-accommodation plan, PNR editing, etc. (Send SMS checkbox will be unchecked in those windows).
Additional Settings
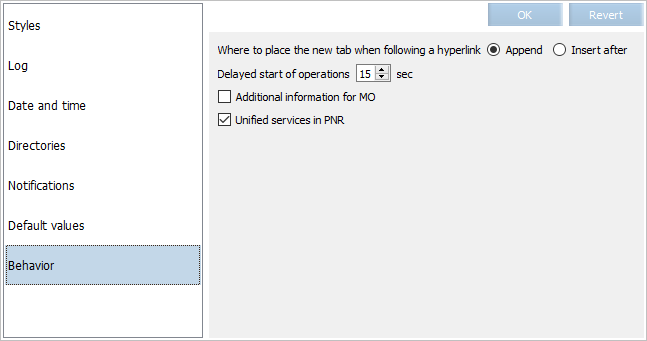
The Behavior settings consist of the following:
- System behavior when opening a new tab (clicking on a link to another system section):
- Append a new tab after the last opened tab
- Insert after active tab
- delayed start of operations
- additional information for mass operations
- format of service presentation in PNR.
- The Delayed start of operations setting delays the start of mass operations and the Inventory business rule group, the Broken seats and Areas rules, and SSP application for the specified time:
- default value is 15 sec.
- maximum value is 99 sec.
- minimum value is 0 sec.
| If the value is 0, then an operation will be started after clicking the Save button on the operation preview window without delay. |
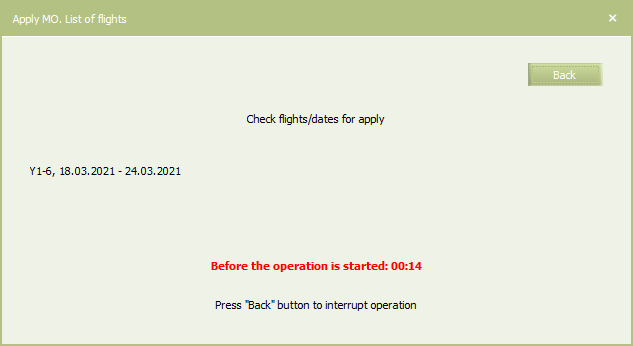
If the value is not 0, then the additional window will be presented after clicking the Save button on the operation preview window for an operation. This window will contain list of flights and dates for the operation and the time countdown for the operation start:
To cancel the operation, click Back, and the operation preview window will be presented again.
When the delay is expired, the System will start the operation.
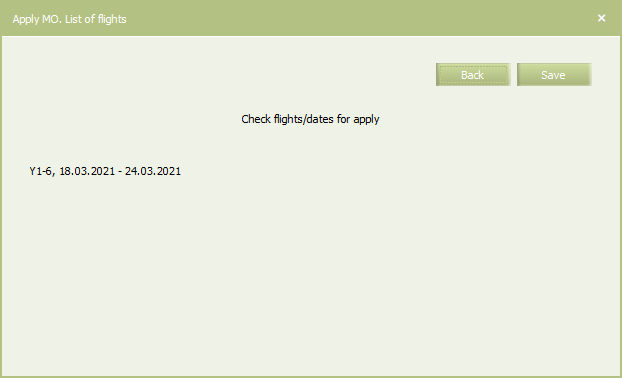
- The Additional information for MO settings allows to check selected flights/dates for the application of a mass operation before its start.
If the setting is on, then the additional window will be presented after clicking the Save button on the operation preview window for the operation. This window will contain the operation parameters: airline code, flight or flight range, application date or period. To return to the operation preview window, click Back. To confirm and start the operation, click Save.
- The Unified services in PNR setting is applied for the presentation of SSR and SVC services in PNR that are linked with each other. The setting is on by default, and such services are presented as services unified in PNR window. If the setting is off, then they will be presented separately – this format is obsolete and will be completely removed in the future.
